
This guide will walk you through the process of verifying the functionality of a WiFi tag.
You will need access to a device (preferably a cell phone) during this procedure.
1. Reboot the WiFi tag
To reboot the WiFi tag, simply unplug the tag’s power adapter from the wall, wait ~5 seconds, and plug the power adapter back into the wall socket. If you need more details on rebooting the tag, please follow the guide below.
How to Reboot a WiFi Tag – Hydro
This guide will walk you through rebooting a WiFi tag.
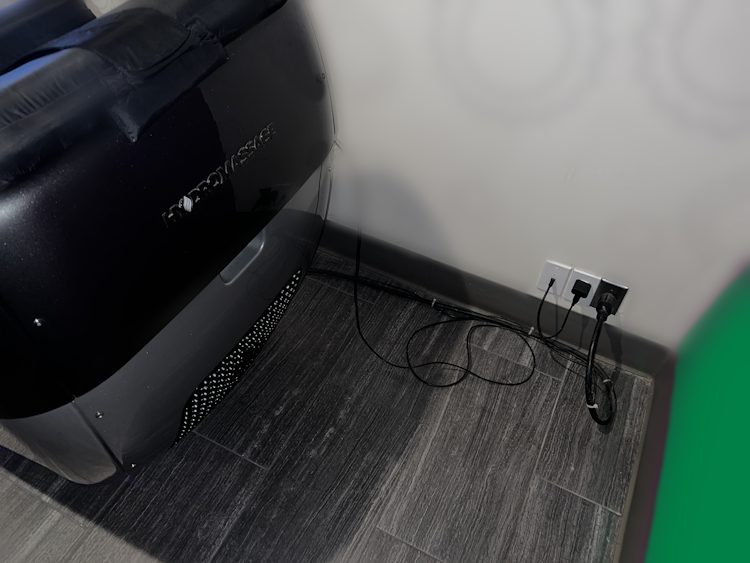
1. Locate the USB Power Adapter
The USB power adapter looks similar to a cell phone charger. This is what provides power to the tag inside of the Hydro unit. The power adapter is circled in red below:
2. Unplug the USB Power Adapter
Once you’ve located the USB power adapter, unplug the adapter from the wall socket. After ~5 seconds, plug the adapter back in.
That’s it! If the tag is still not showing up in Radianse after ~5 minutes, please proceed to the guide on verifying the tag’s functionality.
2. View Available Networks on your Device
After the tag has been reconnected, navigate to your device’s WiFi settings and view all available networks. The following naming convention is used (with x’s being hexadecimal string values that’re unique to the MAC addresses of every WiFi tag (A-F, 0-9)):
CT-1000s & CT-1100s: Radianse-xx.xx.xx
3. Look for Radianse Network
If the tag is working as expected, you should see a WiFi network with the name Radianse-xx.xx.xx.
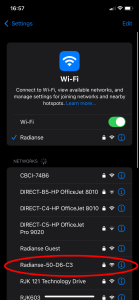
Please note that the last 6 characters will be different than the screenshot provided. This is normal.
4. Tag does not broadcast
If you do not see a network similar to the ones above, it could mean two different things.
- The tag is defective and needs to be replaced
- The tag itself is not receiving power. You can verify if this is the case by following the guide linked below.
Verifying Internal Connections – Hydro
To verify the connections inside of a Hydro bed, please follow the steps below:
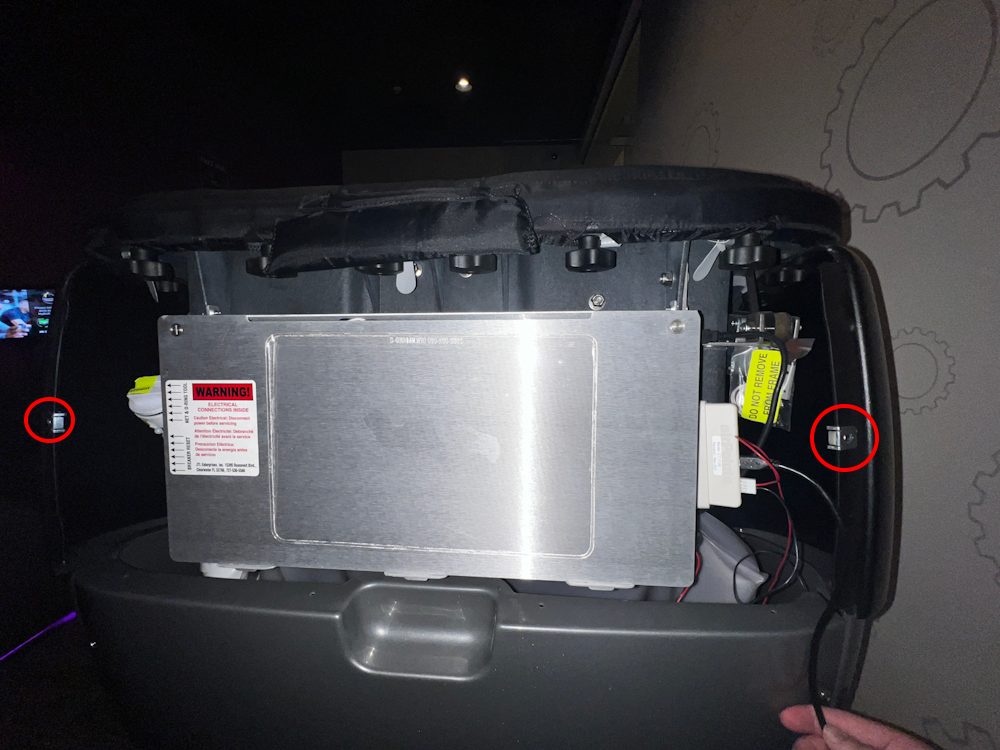
1. Remove the Top Access Panel
There should be two (2) Phillips screws on the top access panel which need to be removed. The image below circles the location of the two screws you will need to remove.
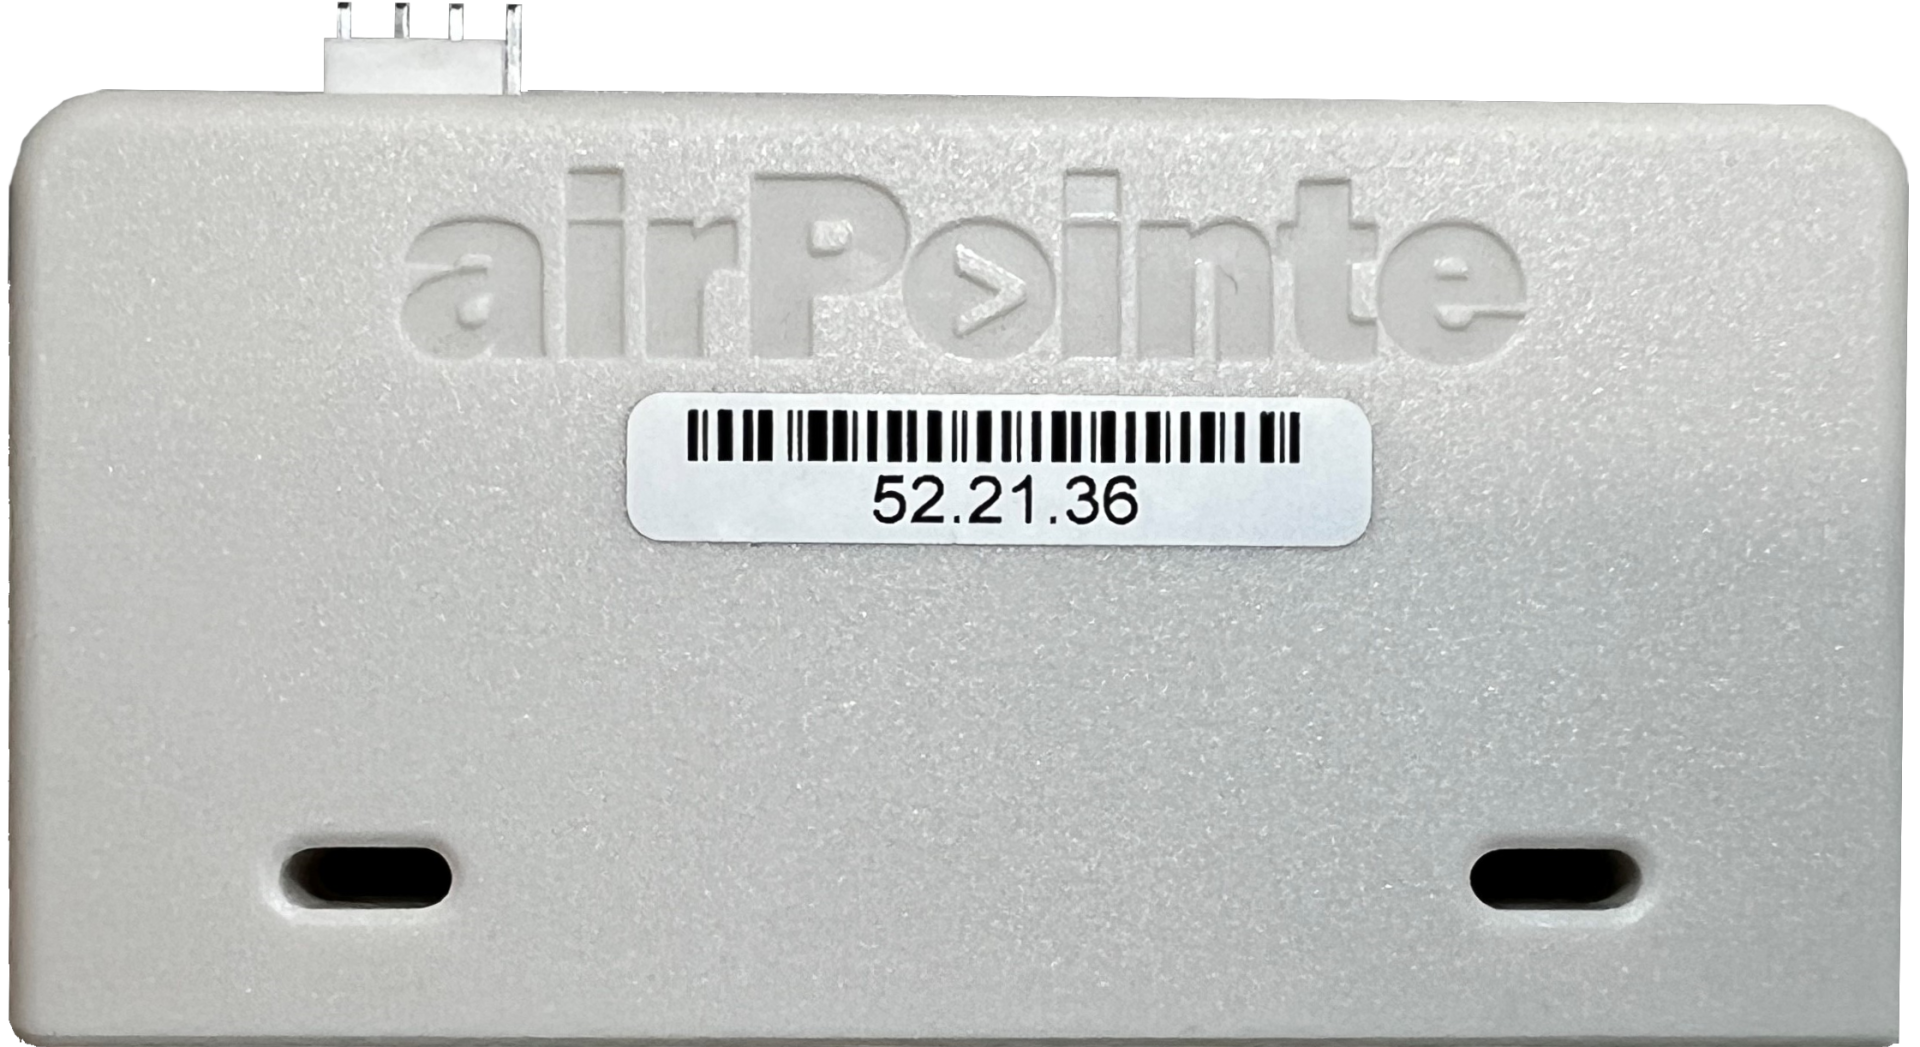
2. Locate the WiFi Tag
The steps for identifying the WiFi tag will depend on which tag model you’re using. If it is a CT-1100, the screenshots below will match.
CT-1100: Look for a small, white rectangle with the label “AirPointe” engraved in the plastic.
CT-1300:

3. Verify Tag Connections
The tag should have two cables connected to it. One is the power cable, and the other is the data cable which connects to the amenity.
Please ensure that both of these cables are securely connected to the WiFi tag.